Animating with Figma
Last updated
Was this helpful?
Last updated
Was this helpful?
Before you begin, be sure you review how to set up your and how to use the .
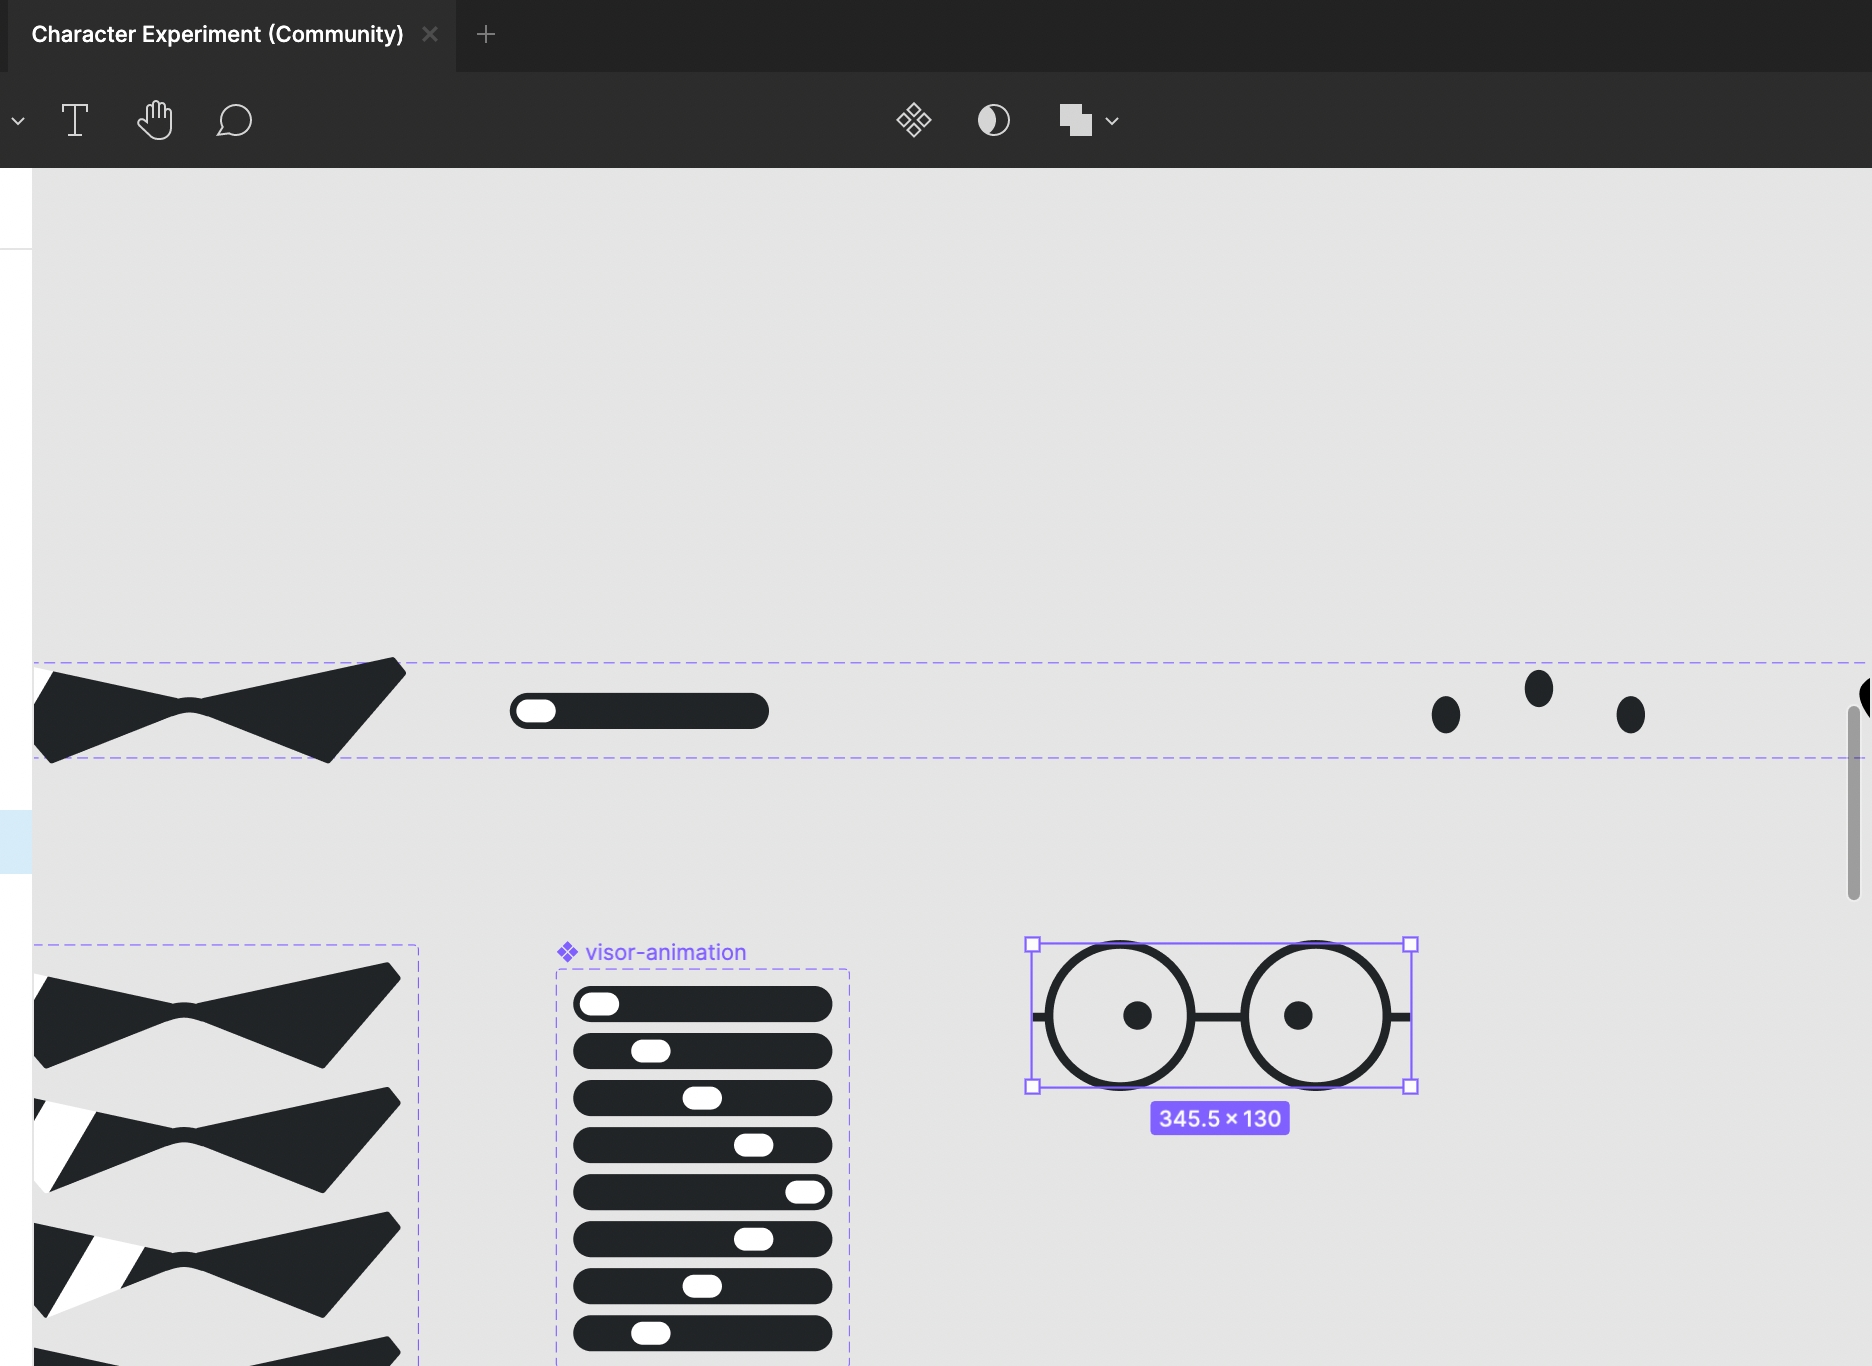
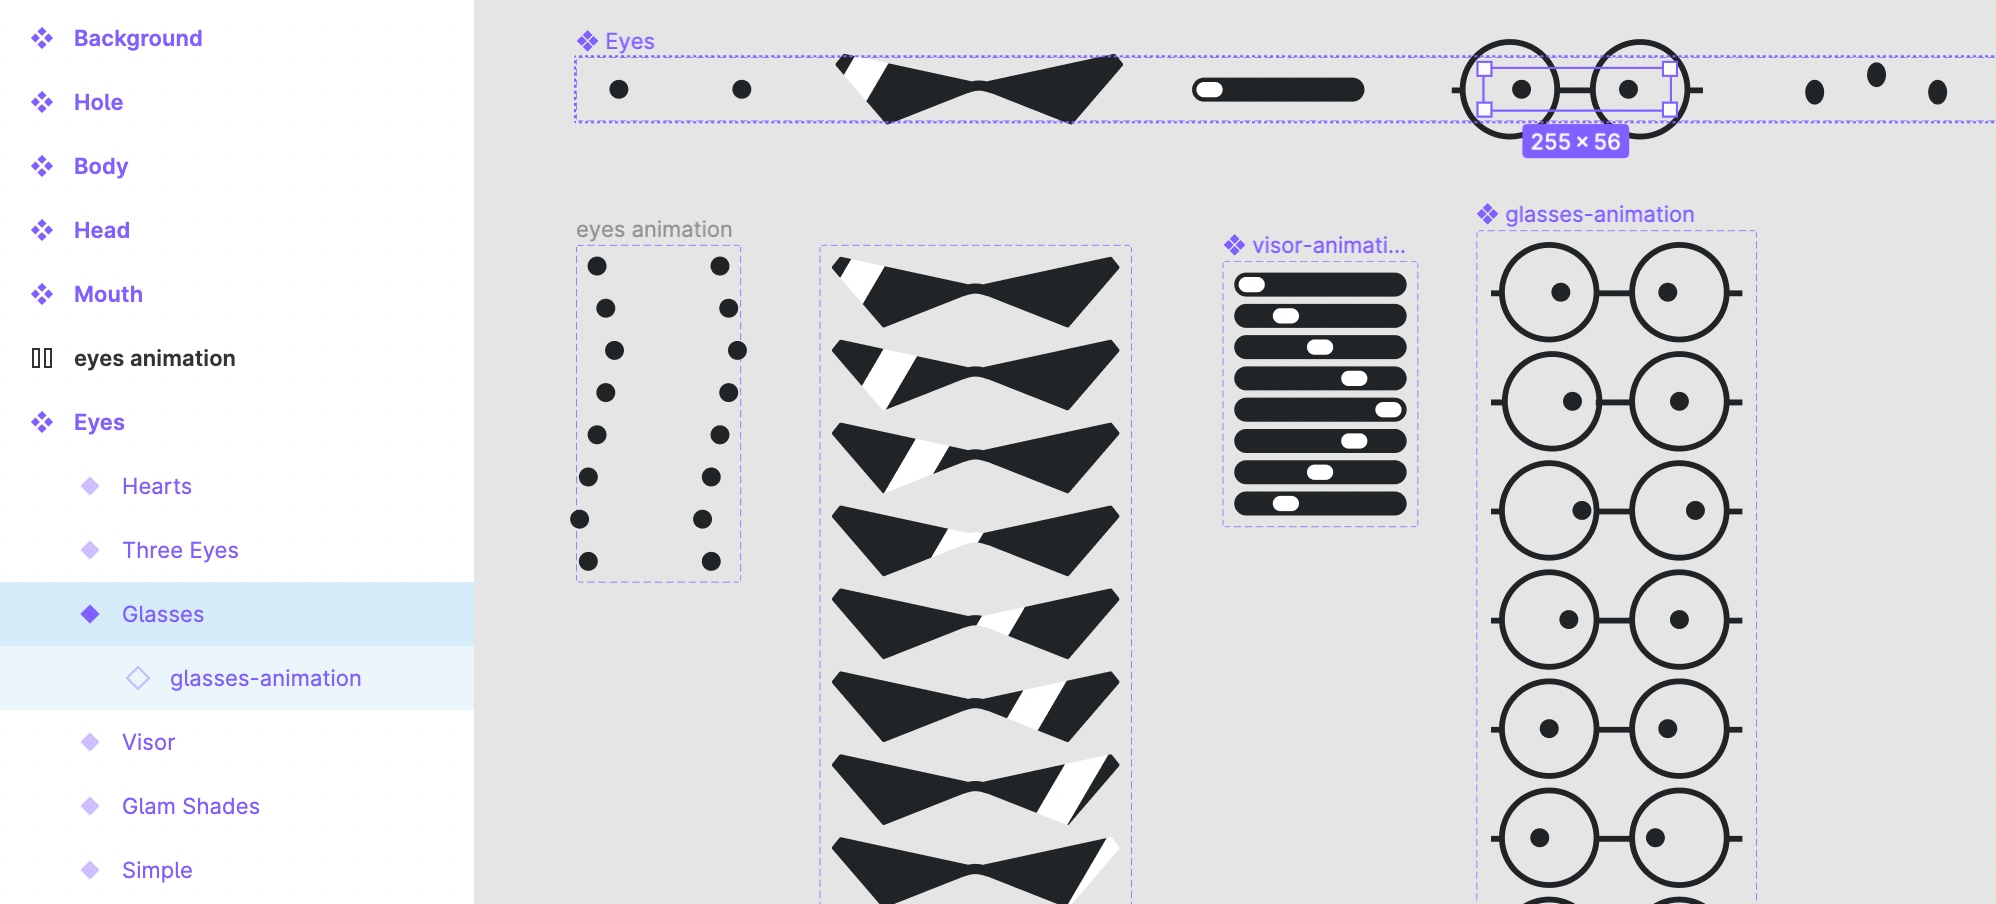
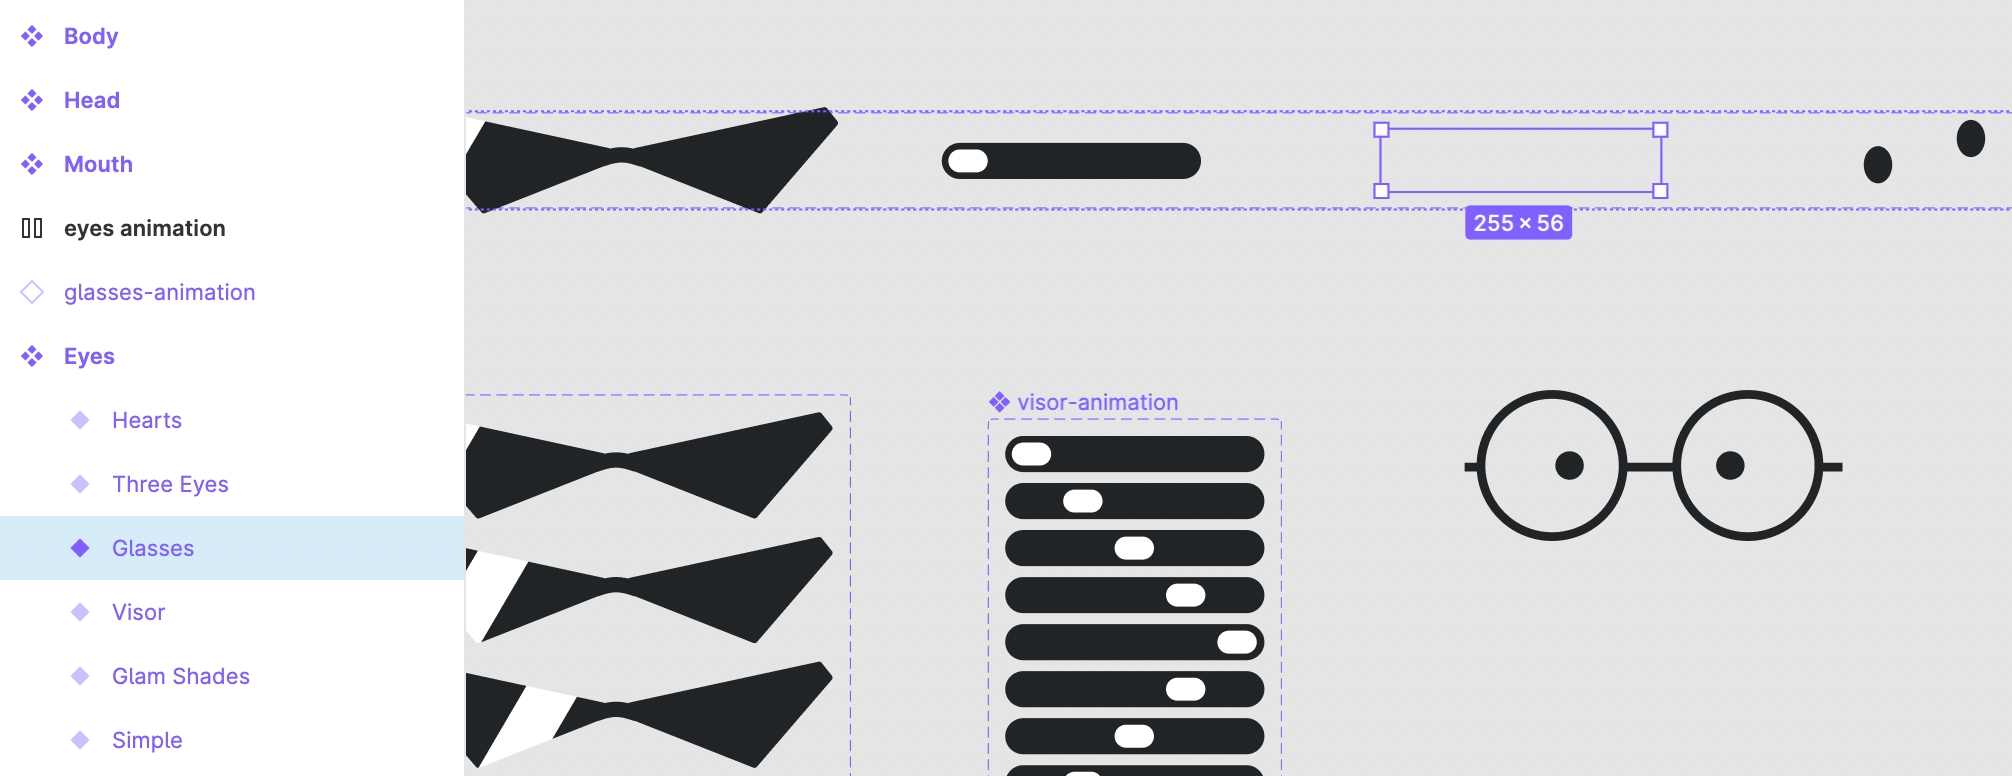
To animate, you need to nest a component with variants inside the component variant that you want to animate. Each variant in your nested component group will be a frame of your animation. Sounds, confusing, we know, but it’s actually pretty simple!
For example, if you want to animate one of your eye variants, you’ll need to nest a component with variants within that eye variant.
So, how do we create a component within a component? First, pull the illustration you’d like to animate out of its parent component variant slot. Remember, you’re just moving the illustration here, so the empty variant slot should still sit in the parent component set.
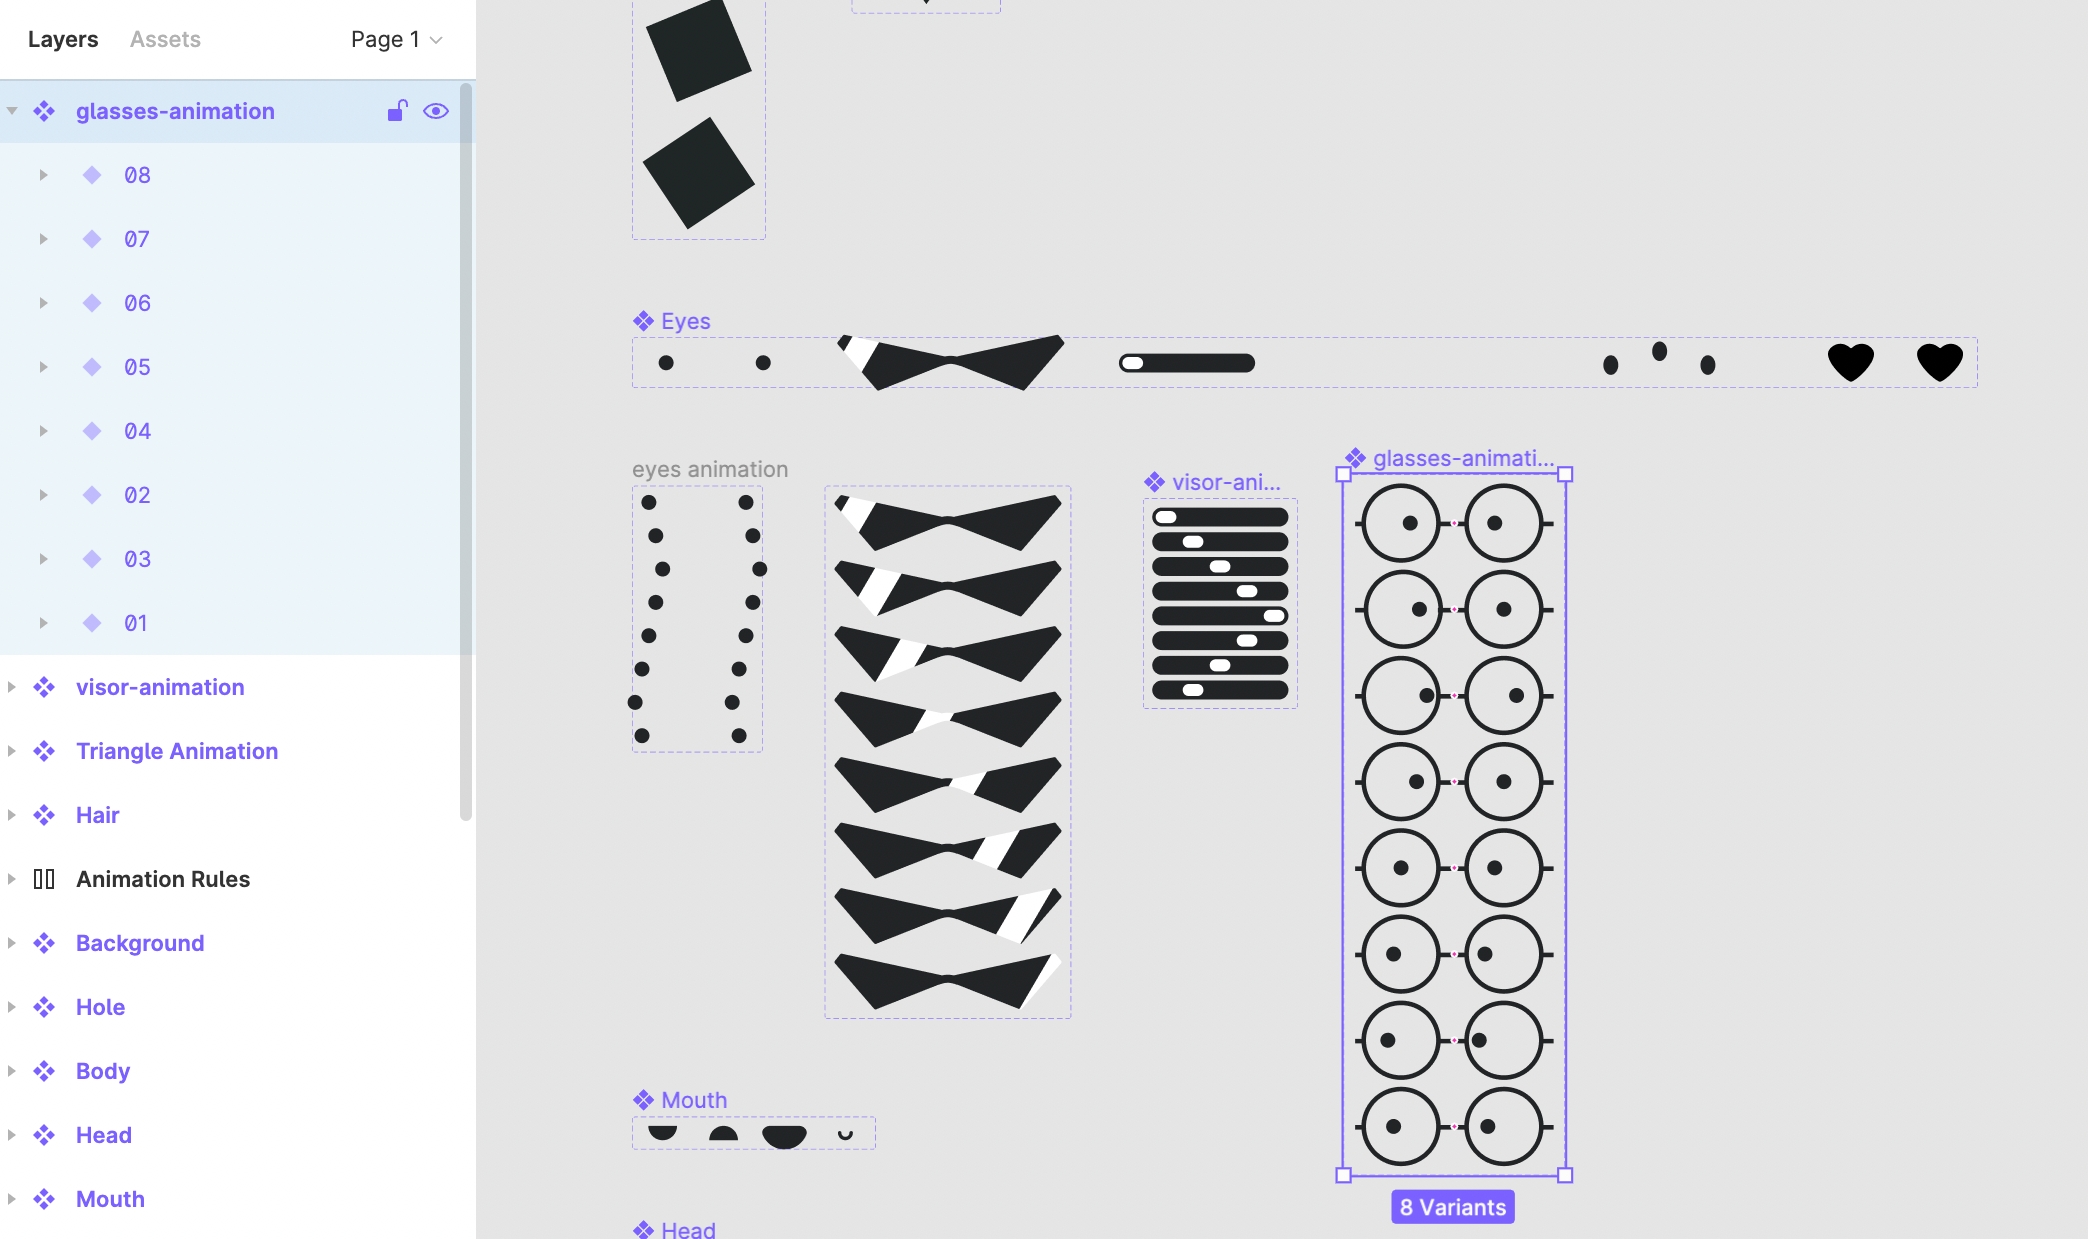
Next, turn the illustration into a component by selecting the illustration and then selecting the component button at the top of the menu. It looks like 4 diamonds clustered together.
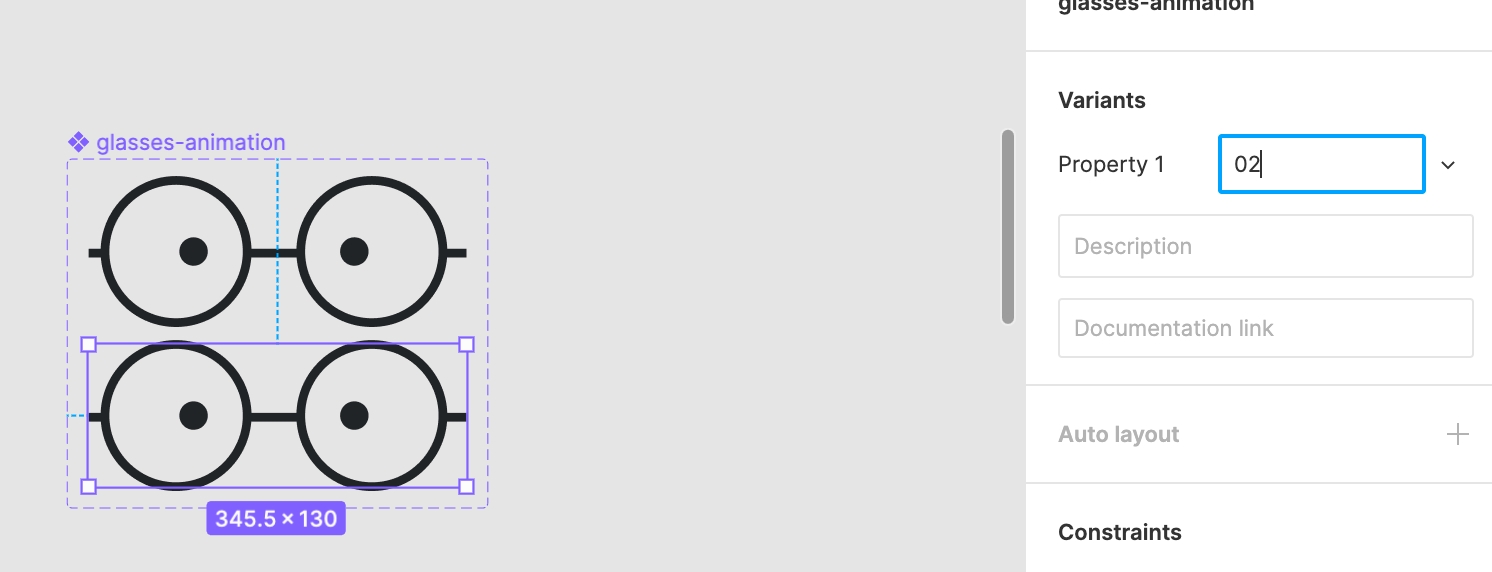
Now, you’ll need to create your animation frames as variants in your new component. To add your first variant, select the + sign next to “Variants” in the Design menu on the right.
Once your first variant has been added, you can create additional variants by selecting the component and hitting the + sign at the bottom right of the frame. t will appear when you hover over the corner with your mouse.
Make sure that you name each of your frame variants in numeric order, so Bueno can put them in the correct order when you upload. The animations should be in 2, 4, 8, or 16 frames, so they’re perfect loops.
Once you’ve created all your animation frame variants, you can insert an instance of your animation back into the variant slot by copying and pasting one of the frames into the slot. You’ll know you’ve done it correctly if there is an empty diamond next to the nested component layer.
Export your files with the Bueno NFT Exporter plugin, and upload! Bueno will automatically animate your traits.
Note: All animation frames must have the same frame size, or Bueno will not animate.
The default frame rate is very slow. You can control the frame rate from the settings tab, under artwork settings.
and practice along with the tutorial!